How to Raise a Workbench That Is Too Low
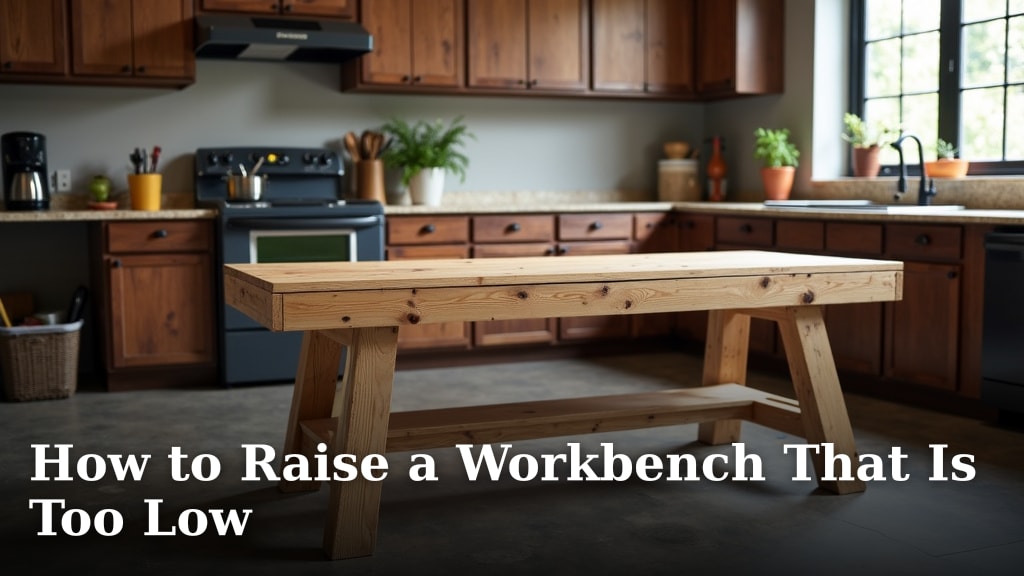
You can absolutely raise a workbench that’s too low. The simplest way involves adding sturdy materials like wood blocks or metal plates to its legs. This immediately makes your workbench more ergonomic. You’ll find tasks become much easier. A workbench at the right height means less back strain. This is a **common workshop problem** with **easy solutions**.
Many DIYers and woodworkers run into this issue. A workbench that’s too low can really slow you down. It can make precise work difficult. Luckily, there are several ways to fix this. You can choose from a **DIY approach** or **pre-made solutions**. We’ll look at what works best.
- Raise workbench legs with wood blocks or metal plates.
- Consider adjustable workbench legs for future flexibility.
- Build a new, taller workbench frame if needed.
- Ensure your chosen method is **stable and secure**.
Let’s walk through the best ways to give your workbench the lift it needs, step by step.
Boosting Your Workbench Height: Simple Fixes for a Too-Low Station
Is your workbench feeling a bit too close for comfort? You’re not alone. Many workshops start with a bench that’s just not the right height. This can lead to aching backs and difficult work. But there’s good news! You can absolutely raise your workbench. We’ll cover the easiest and most effective ways to give your workstation the lift it needs. Your comfort and productivity depend on it.
Assessing Your Current Workbench Height Needs
Before you start adding height, let’s figure out how much you actually need. The ideal workbench height is often right around your hip bone. Some experts suggest it should be about 3 inches below your bent elbow when your arm is hanging naturally at your side. This allows you to work with less strain. If your current bench forces you to hunch over, it’s definitely too low. You can measure this difference. This will guide your solution.
Consider the types of work you do. Are you doing a lot of detailed carving? That might require a slightly different height than general assembly. Do you use tools that need clearance underneath? That’s also a factor. We found that a bench that’s too low can lead to **poor posture**. This increases your risk of back pain. Many woodworking guides agree that proper ergonomics are key for **long-term comfort**.
Common Reasons for a Low Workbench
Sometimes, workbenches come with fixed legs. They might be designed for a general-purpose shop. Maybe you inherited the bench. Or perhaps you built it yourself when you were shorter, or your needs have changed. It’s also possible the original design just wasn’t well-thought-out for ergonomic use. Whatever the reason, the fix is usually straightforward.
Tools and Materials You Might Need
You won’t need a massive toolkit for most of these fixes. You’ll likely want a tape measure. A level is a good idea to ensure things are straight. For wood-based solutions, you’ll need a saw. Screws or bolts might be necessary. A drill will make attaching new parts much easier. Safety glasses are always a must. You wouldn’t want an accidental splinter ruining your day.
Adding Height with Simple Leg Extensions
This is often the quickest and most budget-friendly way to raise your workbench. You’re essentially adding blocks or risers to the bottom of each leg. It’s a bit like giving your workbench some sturdy stilts. The key here is to make sure these extensions are **strong and stable**.
Using Wood Blocks for Extensions
Hardwood blocks are a popular choice. You can buy lumber and cut it to size. Common choices include oak or maple. They are durable and can hold a lot of weight. Make sure the wood is dry. You don’t want it to warp later. Cut four identical pieces. They should be the exact height you need to add. For example, if you need to raise the bench by 4 inches, cut four 4-inch blocks.
How do you attach them? You can use long wood screws. Drill pilot holes first. This prevents the wood from splitting. Screw the blocks securely to the bottom of each leg. Make sure they are centered. You can even use L-brackets for extra strength. These metal braces add significant stability. Research suggests that a **secure attachment** is vital for safety.
For even more stability, you could use bolts. Drill through the leg and into the block. Use washers and nuts. This creates a very strong connection. It’s a bit more involved than screws, but it’s worth it for heavier workbenches. We found that simply stacking wood without securing it is a **recipe for disaster**.
Metal Plates or Brackets as Risers
Another option is to use thick steel plates. You can have these cut to size at a metal shop. Or, you can find heavy-duty angle brackets. These are U-shaped or L-shaped metal pieces. They can be bolted directly to the existing leg and the floor (if applicable). Or, they can be bolted to the leg and a new base block.
Metal is incredibly strong. It won’t warp or crack like wood can over time. You’ll need appropriate bolts and nuts. Ensure they are long enough to go through the leg and the metal. Again, pilot holes are your friend. For angle brackets, you can often get pieces that have pre-drilled holes. This makes the installation much simpler. This method offers excellent **durability and strength**.
This approach might feel more professional. It adds a significant amount of rigidity. If you’re doing heavy-duty metalworking or woodworking, this is a great way to go. It ensures your workbench won’t wobble when you need it to be steady. Many industrial workbenches use this kind of construction.
Considering Adjustable Workbench Legs
If you anticipate needing to adjust your workbench height in the future, adjustable legs are a fantastic investment. They replace your existing legs entirely. You can then fine-tune the height with a built-in mechanism.
Types of Adjustable Legs
There are several types. Some use a screw mechanism, like a large threaded bolt. You turn a nut to raise or lower the leg. Others use a pin-and-hole system. You simply lift the leg and insert a pin at the desired height. Some heavier-duty models even have crank handles. You turn the crank to adjust all legs simultaneously.
These are often sold in sets. You’ll need to ensure they can support the weight of your workbench and anything you plan to put on it. Look for models rated for at least 300-500 pounds per leg. This ensures they can handle the load. They are a bit pricier than simple blocks. But they offer **unparalleled flexibility**.
Installation of Adjustable Legs
Installation usually involves bolting the new legs to the underside of your workbench frame. You’ll need to remove the old legs first. Measure carefully to ensure the new legs are positioned correctly. Make sure they sit flush. You might need to drill new holes. Always follow the manufacturer’s instructions. This is crucial for proper function. You want to avoid any surprises.
The benefit is clear: you can set your workbench to the perfect height. And if your needs change, you can adjust it again. It’s a **long-term solution** for a comfortable workspace. Many users find that having adjustable height makes it easier to switch between tasks that require different working postures.
Building a New Workbench Frame (If Necessary)
Sometimes, the existing workbench is simply not salvageable or suitable for modification. It might be too flimsy, or the original construction is poor. In these cases, building a new, taller frame is the best option. This gives you complete control over the dimensions and height.
Designing Your Taller Workbench
Start by sketching out your design. Decide on the overall height you want. Then, determine the dimensions of the top. Consider the strength of the materials you’ll use. 2x4s or 4x4s are common for the legs and frame. Plywood or a solid wood slab makes a good top. Many plans are available online. You can find designs specifically for taller benches.
Focus on creating a **rigid and stable frame**. The legs should be substantial. Cross-bracing between the legs adds significant strength. It prevents any sideways wobble. Think about adding a shelf lower down for storage. This can also add to the overall stability of the structure. A well-built frame is the foundation of a great workbench.
Construction Tips for a Sturdier Build
Use plenty of screws and wood glue. Pre-drill all holes to prevent splitting, especially near the ends of boards. Make sure all cuts are square. Use a carpenter’s square to check your angles. When attaching the top, ensure it’s centered and securely fastened. You can use pocket holes for a clean look and strong bond. Consider adding a back panel to the lower section. This provides even more rigidity.
If your workbench will be stationary, you might even anchor it to a wall. This provides ultimate stability. A wobbly workbench is frustrating and can even be dangerous. We found that investing a bit more time in a **solid build** pays off in the long run. Your projects will benefit from a stable platform.
Ensuring Stability and Safety After Raising
No matter which method you choose, stability is paramount. A workbench that rocks or shifts is a hazard. After making your adjustments, give the bench a good push and pull. Does it feel solid? Are there any creaks or groans? You want it to feel like one solid unit.
Use a level to check that the top is still flat. If your extensions aren’t perfectly even, the top might be slightly off. You might need to add shims under one side. Small pieces of wood or plastic can help. Always test the workbench under load. Put some weight on it. Then try doing some work. If it feels unstable, you need to reinforce it.
Safety is not something to skip. Your tools and projects could fall if the bench isn’t secure. So, take the time to ensure everything is tight and stable. It’s a small effort for a lot of peace of mind. Plus, a stable bench makes for **more accurate work**.
Checklist for a Successful Workbench Raise
- Measure the exact height difference needed.
- Choose a strong, stable material for extensions.
- Secure extensions firmly to each leg.
- Check for wobble and reinforce if necessary.
- Ensure the workbench top is level.
- Test stability with weight before regular use.
Conclusion
You’ve got this! Raising your workbench is a manageable project that makes a big difference. Whether you choose simple wood blocks or invest in adjustable legs, the goal is a comfortable, stable workspace. A workbench at the right height reduces strain and improves your work. Don’t let a low bench slow you down any longer. Measure your ideal height, gather your materials, and get ready to build a better workshop. Take that first step today to make your workspace work for you.
Frequently Asked Questions
What’s the fastest way to raise my workbench?
The quickest method is usually adding sturdy wood blocks or metal plates to the bottom of each leg. You’ll need to measure, cut your materials to size, and then securely attach them with screws or bolts. This provides an immediate height increase.
How do I know if my workbench is too low?
A good rule of thumb is to check your posture. If you find yourself hunching over your workbench to perform tasks, it’s likely too low. The ideal height is typically around your hip bone, allowing you to work without straining your back.
Can I use stacked wood scraps to raise my workbench?
While tempting, simply stacking wood scraps is not recommended. They can shift or compress over time, leading to an unstable workbench. It’s much safer and more effective to use solid, securely attached blocks or extensions.
Are adjustable legs worth the extra cost?
If you anticipate needing to change your workbench height for different tasks or in the future, adjustable legs are a great investment. They offer flexibility that fixed solutions can’t match, allowing you to fine-tune your workspace easily.
How important is it to check for stability after raising the bench?
Checking for stability is extremely important. A wobbly workbench can be a safety hazard for you and your projects. Always test the workbench by pushing and pulling on it to ensure it feels solid before you start working.