Workbench Height for a Miter Saw Station
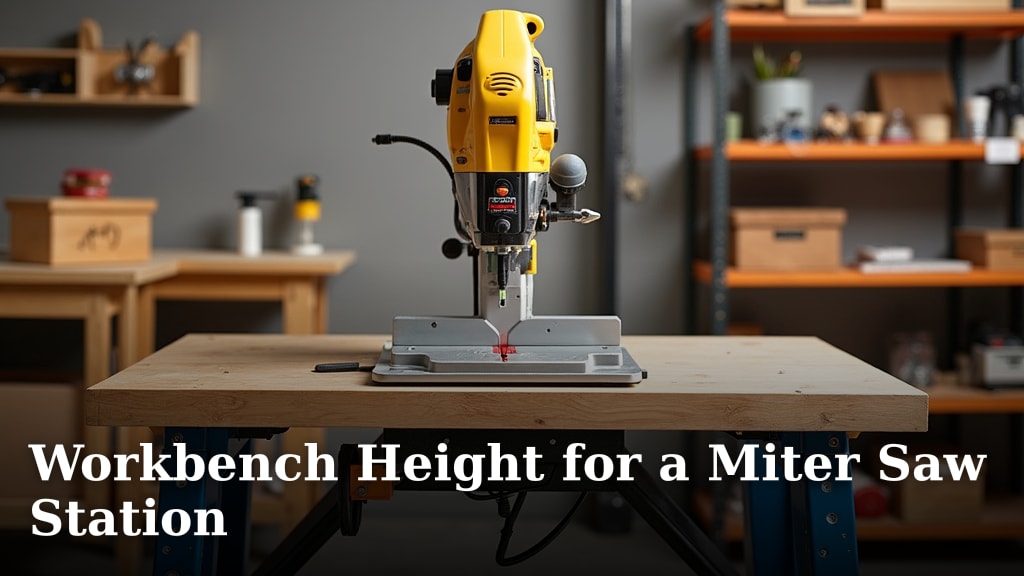
The ideal miter saw station workbench height is typically between 34 and 38 inches off the floor. This range generally works well for most users, allowing for comfortable operation without excessive bending. Getting this right means less strain on your back and more enjoyable woodworking.
Finding the perfect height isn’t just about comfort; it’s about efficiency and accuracy too. A workbench that’s too low or too high can make cuts less precise and operations more awkward. Many woodworkers find that a height aligning with their hip bone or belt buckle is a good starting point.
- The best miter saw station height is usually 34-38 inches.
- This range offers comfort and good ergonomics.
- It helps prevent back strain and improves cut accuracy.
- Consider your own height and personal comfort.
Let’s break down how to figure out the perfect workbench height for your miter saw station, ensuring it’s just right for you.
“`htmlFinding Your Miter Saw Station’s Perfect Working Height
Setting up your miter saw station isn’t just about making space. It’s about building a workspace that feels right for your body. Getting the height of your workbench or saw base correct is a big part of that. It directly impacts your comfort and the Understanding what a garage workbench is can help you determine the right workbench height.accuracy of your cuts.
We want you to be able to work for longer periods without feeling that familiar ache in your back or shoulders. Research shows that proper ergonomics can significantly reduce the risk of musculoskeletal injuries. For a miter saw, this means the saw’s blade should be at a height that allows you to operate it comfortably.
Many woodworkers find a miter saw base height that lands somewhere between their hip bone and their belt buckle feels best. This common observation is backed by ergonomic principles. This height allows for a natural posture, reducing strain on your spine and arms. Let’s look at how to determine this ideal height for yourself.
Why Workbench Height Matters So Much
Think about it: how many times do you stand at your miter saw? Probably a lot if you do woodworking projects. If the saw is too low, you’ll be bending over constantly. This puts a lot of pressure on your lower back. Your neck and shoulders will also feel the strain as you try to see your cuts clearly.
On the other hand, if your miter saw is perched too high, your arms will be uncomfortably elevated. This can lead to fatigue in your shoulders and upper back. It also makes it harder to apply steady pressure when making cuts, which can affect precision and safety. We’ve all seen or heard about projects going slightly awry because of awkward positioning.
The goal is a neutral posture. This means your body is aligned naturally. Your wrists should be straight when holding the workpiece. Your arms should be relaxed at your sides, not reaching up or hunching down. A miter saw station designed with your height in mind makes all the difference.
How to Measure for Your Ideal Height
So, how do you actually find that sweet spot? It’s simpler than you might think. You’ll need to do a little bit of measuring, but it’s well worth the effort. We’ll guide you through the process step-by-step.
The Standing Test: Finding Your Sweet Spot
First, stand up straight, as if you were working at your saw. Relax your shoulders. Let your arms hang naturally at your sides. Have a friend help you measure from the floor up to the bottom of your elbow. This is a great starting point for many people.
Alternatively, you can measure to the center of your hip bone or your belt buckle. Many ergonomic studies suggest this area is optimal for many standing tasks. It allows for a good balance between not bending too much and not reaching too high.
Considering Your Miter Saw’s Components
Remember that your miter saw itself has a base or mounting plate. This is what the saw sits on. Your measurement needs to account for the height of this base. The 34-38 inch range we mentioned earlier often refers to the top surface of the workbench or stand.
If you’re building a custom cabinet or stand, you’ll factor in the thickness of your tabletop material. If you’re using a pre-made miter saw stand, you’ll adjust your overall workbench height accordingly. You might even be able to adjust the legs of some stands.
The Importance of Your Tools and Accessories
Don’t forget about any dust collection systems or other accessories you plan to integrate. While these don’t directly affect your primary cutting height, they can influence the overall layout and accessibility of your station. Ensure that adding these items won’t force you into awkward positions later on.
Testing with Your Miter Saw
If possible, set up your miter saw temporarily at different heights. Try making a few practice cuts. How does it feel? Can you easily reach the trigger? Is your arm position comfortable? This hands-on test is invaluable. It helps you confirm the measurements you’ve taken are truly working for you.
Adjusting for Different Saw Types and Uses
Not all miter saws are created equal, and neither are the tasks you might perform. This can influence the ideal height. Think about the types of cuts you make most often.
Standard Miter Saws vs. Compound Miter Saws
Most standard and compound miter saws have a similar base height. The main difference is the compound saw’s ability to tilt the blade for bevel cuts. This function doesn’t typically change the ideal workbench height. However, if you frequently make very large bevel cuts on long pieces of stock, you might want a bit more clearance.
Sliding Miter Saws and Material Width
Sliding miter saws allow for wider cuts. The sliding mechanism means the saw head moves forward and back. This usually doesn’t alter the ideal base height. What it *does* mean is that you’ll often be working with longer pieces of lumber. Ensuring your workbench has good support on either side is key here. Your cutting height should still prioritize your comfort during the sliding action.
Heavy-Duty Saws and Stability Needs
If you’re using a heavier, more powerful miter saw, stability is paramount. A robust, well-built stand or workbench is essential. While the ideal height remains similar, a sturdier base can help reduce vibration, leading to cleaner cuts. This also contributes to a safer working environment. A wobbly saw at any height is a recipe for trouble.
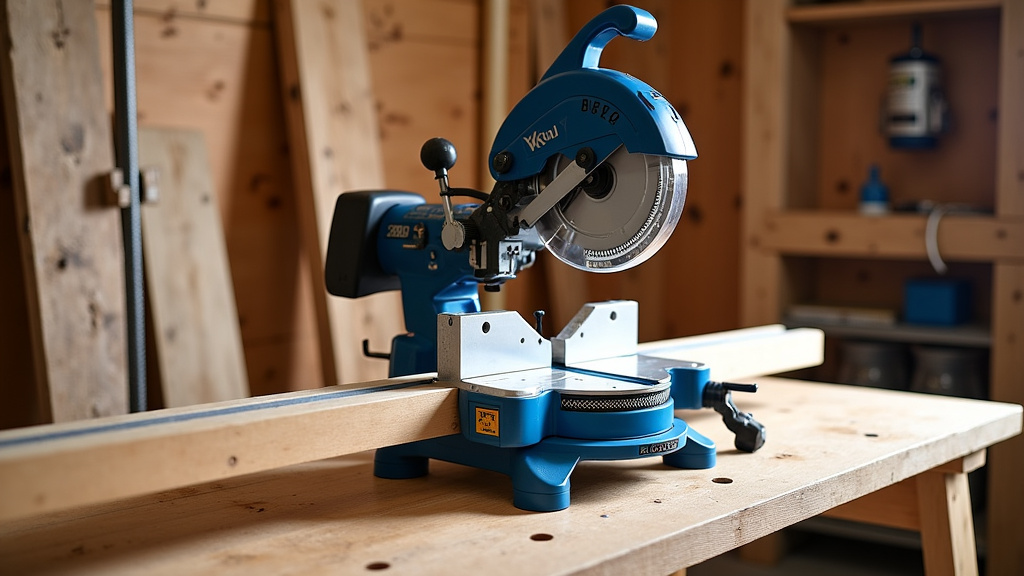
Building Your Miter Saw Station: Height Considerations
When you’re designing or building your miter saw station, the height is one of the first things to lock down. It affects everything else, from cabinet dimensions to the placement of shelves.
Using a Miter Saw Stand
Many popular miter saw stands are designed with portability in mind. Some offer adjustable legs. If yours does, you can fine-tune the height to match your preferred measurement. If it’s fixed, you might need to build a small riser platform for it to sit on. This riser needs to be sturdy and non-slip. A solid base will prevent the saw from moving during operation.
Creating a Custom Workbench or Cabinet
Building your own station gives you the most flexibility. You can set the exact height needed. Most custom stations are built around a sturdy cabinet or a frame structure. The top surface where the saw sits is usually made of thick plywood or MDF. Ensure this surface is level and securely attached.
Here’s a quick checklist to guide your build:
- Measure your ideal elbow or hip height.
- Account for the thickness of your workbench top.
- Ensure the saw base will sit securely and level.
- Add supports for long workpieces if needed.
- Test the height with practice cuts.
- Prioritize stability and safety in your design.
Integrating Other Features into Your Station
As you plan your station, think about incorporating storage for your accessories, like blades, safety glasses, and measuring tools. The height of your workbench can influence how you integrate these. For example, drawers below the saw can be at a convenient height, or shelves above can keep frequently used items within easy reach. The key is that these additions don’t compromise your primary working height.
Ergonomics and Long-Term Comfort
Investing time in setting the correct miter saw height is an investment in your own well-being. It’s not just about building furniture; it’s about creating a sustainable hobby or even profession.
By following ergonomic principles, you’re actively reducing the risk of developing chronic pain or injuries. Numerous health organizations, including the Occupational Safety and Health Administration (OSHA), emphasize the importance of ergonomic design in preventing workplace injuries. While woodworking might feel like a hobby, treating your workspace with the same care as a professional setting is smart.
Consider how your posture affects your breathing and circulation as well. When you’re hunched over, it can restrict these natural bodily functions. A comfortable, neutral posture allows you to work more efficiently and with less fatigue. You might find you can focus better on the task at hand when your body isn’t fighting against an awkward setup. This translates to better results and more enjoyment from your projects.
“`Conclusion
Finding the right workbench height for your miter saw station is key to comfortable and accurate woodworking. Remember, the sweet spot is usually between 34 and 38 inches, aligning with your hip or elbow. Prioritizing good ergonomics now saves your back and improves your cuts later. Take the time to measure and test – it’s an investment in your projects and your well-being. Your next step is to apply these measurements to your existing setup or your new build.
Frequently Asked Questions
What if I’m much taller or shorter than average?
If you’re taller or shorter, the standard 34-38 inch range might not be perfect. Use the standing test to measure from the floor to your elbow or belt buckle. This personal measurement is your best guide for an ergonomic height.
Can I use my existing workbench?
You can often use your existing workbench. Measure its current height and compare it to your ideal measurement. If it’s too low, you might add a sturdy riser. If it’s too high, you might need a lower stand or a different solution.
Does the type of miter saw affect the ideal height?
Generally, no. Most miter saws, whether standard, compound, or sliding, are designed to work best at a similar ergonomic height. The saw’s base is what sits on your workbench, and that height is determined by your body, not the saw’s specific function.
How do I account for the thickness of my workbench top?
When building a custom station, measure your ideal working height first. Then, subtract the thickness of your chosen tabletop material (like plywood or MDF). This will give you the correct height for the support structure underneath.
Is it okay if my miter saw stand is a different height than my workbench?
It’s best if your miter saw’s cutting surface is at your ideal ergonomic height, regardless of whether it’s on a stand or a workbench. If you use a portable stand, you might need to build a simple platform to bring it up to your preferred working level for better comfort.