How to Build a Woodworking Workbench
Build a woodworking workbench with a square, braced base, a flat top, and clamping points placed where your projects need them. Choose the size and height for your shop, then check for wobble and adjust before adding tools.
On this page (10 sections)
- What should woodworking workbench plans include?
- How do you choose the bench size and height?
- How do you build a stable workbench base?
- What should you use for the workbench top?
- How do you add clamping provisions?
- How do you assemble and check the finished bench?
- Can a folding work table serve as a woodworking bench?
- Which woodworking workbench design should you build?
- What mistakes should you avoid when building a workbench?
- Which woodworking workbench plans are right for you?
Build a woodworking workbench with a square, braced base, a flat top, and clamping provisions suited to your projects. Choose the height and footprint for your shop, then check for wobble before relying on it for planing, sawing, or assembly.
A solid bench is a workholding tool as much as a table. These woodworking workbench plans use a straightforward sequence: size the bench, build and brace its base, fit the top, then add clamping points where your work needs them.
What should woodworking workbench plans include?
Good woodworking workbench plans account for the base, top, height, footprint, and clamping method. Decide how you'll hold boards before cutting material, since vise or clamp placement affects the top and apron.
A bench for hand-tool work benefits from a base that resists side-to-side movement and a top with room for workholding. A portable bench may trade some mass for folding storage, so consider the tasks it needs to support.
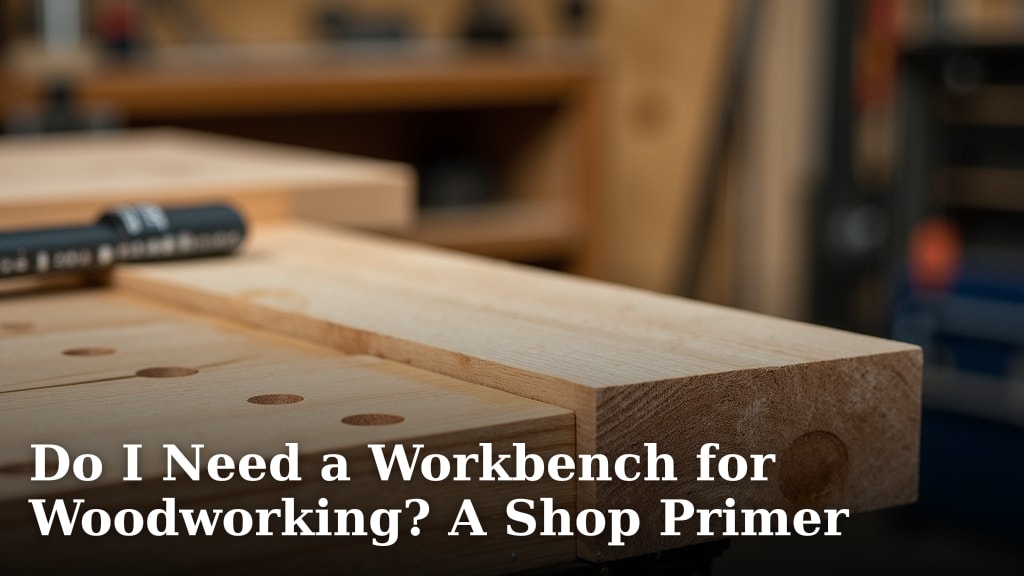
If you are still deciding whether a dedicated bench fits your shop, start with Do I Need a Workbench for Woodworking? A Shop Primer.
For a basic definition and the parts of a bench, see What Is a Woodworking Bench? A Simple Guide.
How do you choose the bench size and height?
Choose a footprint that fits your largest common projects while leaving room to move around it. The bench should be large enough to support your work, but not so wide or long that it blocks shop paths or storage.
Set the height for the work you do most often. Hand-planing usually calls for a lower working height than fine assembly, and your own reach and stance matter; check Workbench Size for Hand Tool Woodworking for more on dimensions.
Before buying lumber, mark the proposed bench outline on the floor with tape. Stand at the planned height using a temporary surface, then check whether you can reach across the top without leaning awkwardly.
How do you build a stable workbench base?
A stable base starts with four legs joined by aprons and braced against racking. Cut matching parts carefully, assemble the frame square, and verify that all feet contact the floor.
- Cut the legs and apron pieces to your chosen dimensions.
- Dry-fit the frame and check the corners for square.
- Join the aprons to the legs with a method suited to your tools and skill.
- Add lower stretchers or diagonal support where the frame can sway.
- Recheck square and foot contact before the joints fully set.
Keep the base open where you'll need access for clamps, drawers, or a vise. If you plan to add a vise, leave room for its hardware and make sure the top and supporting apron can take the mounting fasteners.
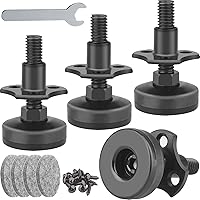
The Rockler legs are described as 24 in wide and 29 in high, with mounting screws included. They are intended for supporting tables, so plan how the top will attach and confirm that a folding-leg setup suits your work and storage needs.
What should you use for the workbench top?
Use a top that stays flat and has enough support beneath it for clamping and hand-tool work. A built-up top made from straight stock is one option; a single panel is simpler if it suits your tools and the support spacing.
Lay out the boards or panel before assembly, checking for cupping, twist, and uneven edges. Join or fasten the top so it sits flat, then smooth the working surface without rounding over edges where clamps or guides need a reference.
Leave enough overhang for clamps if you plan to use them at the perimeter. If the top will hold a vise, locate it where long boards can extend beyond the bench without hitting walls or other tools.
How do you add clamping provisions?
Plan clamping provisions around the shapes and sizes of workpieces you handle. Dog holes, a vise, edge access, and removable clamps each solve different holding needs, so add only the features you'll use.
For dog holes, lay out a straight row that works with your intended stops or accessories. Drill perpendicular to the top and test the fit with the hardware before making a full pattern.
A front vise or end vise needs a flat mounting area and clear travel for its moving parts. Check that the vise jaws sit level with the top, and avoid placing holes where mounting bolts or the base frame will interfere.
For a simpler setup, use portable clamps at the edge or add a replaceable sacrificial board. This keeps the main top easier to repair if glue, cuts, or wear mark the surface.
How do you assemble and check the finished bench?
Assemble the base first, then fit the top after confirming the frame is square and steady. Tighten the joints, set the bench on its intended floor, and check for rocking before adding clamping hardware.
Press down at each corner and push from the sides to find movement. Correct loose joints, uneven foot contact, or weak bracing before using the bench for forceful hand-tool work.
Check the top with a straightedge in several directions. If you find a high spot, flatten it with a suitable hand plane or sander, then recheck the surface before laying out dog holes or mounting a vise.
Can a folding work table serve as a woodworking bench?
A folding work table can be useful for portable work, rough cutting, or overflow tasks, while a fixed bench is often better when you need a heavy, permanent workholding surface. For a wheeled build, see rolling workbench plans.
Match the choice to your available floor space and the forces your tasks create.
The BORA Centipede has a 2 x 4 ft format, steel construction, two quick clamps, four brackets for standard 2x4 boards, and a carry bag. It is listed at a 30 in working height, so it may suit a temporary setup when that height fits your work.
The Keter folding workbench includes 12 in clamps that can be installed horizontally or vertically, and it folds for storage and transport. Its work surface is described as supporting up to 1,000 lb, but capacity alone doesn't tell you whether the setup will resist the side force from planing.
Test a folding setup on a level floor and lock it fully open before use. If you need a heavy base, a vise, or repeated hand-planing, build a fixed frame or choose a bench designed for that role.
Which woodworking workbench design should you build?
Build the design that fits your main work, available space, and clamping needs. A simple open base with a thick top is easier to adapt, while a traditional bench may provide more built-in workholding.
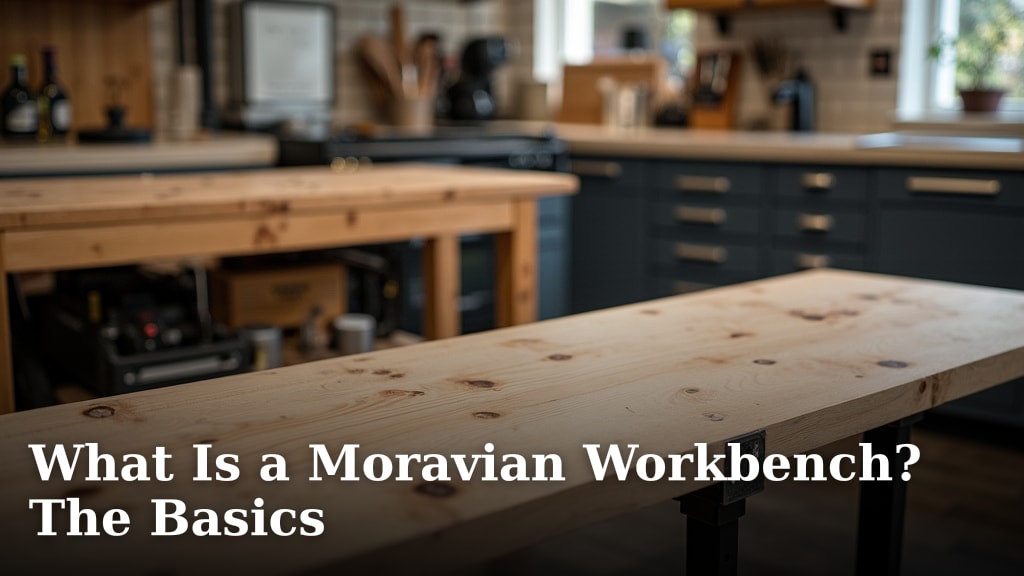
Compare woodworking workbench designs before settling on the base and vise arrangement. A Moravian-style bench is another option if portability and knockdown construction matter; learn its basic features in [What Is a Moravian Workbench?
The Basics](/what-is-a-moravian-workbench/).
Don't copy a design's dimensions without checking your own shop and body position. The same plan can feel too high, too low, or too large in a different workspace.
What mistakes should you avoid when building a workbench?
The most common build problems are a racking base, an uneven top, and clamping hardware that blocks other uses. Catch them during layout and dry-fitting rather than after the bench is complete.
- Don't skip diagonal or lower support if the frame sways.
- Don't drill a full dog-hole pattern before checking your stops and clamps.
- Don't fit a vise where its handle or jaws collide with legs.
- Don't assume a folding base will hold firm under every hand-tool force.
- Don't glue or fasten the top before confirming it sits flat on the frame.
A bench can be adjusted over time. Keep the top replaceable or leave room to add a vise or clamp rail if your work changes.
Which woodworking workbench plans are right for you?
Choose a fixed, braced bench if you need a stable surface for regular planing, sawing, and clamping. Choose a folding table if storage and portability matter more, and test its stability for the specific task before applying force.
Build around the projects you actually make: set a workable height, leave clamp access, and keep the base square. Then adjust the top and workholding as your needs become clear.
Frequently asked questions
What is the best wood for a woodworking workbench?
A stable, flat surface matters more than choosing one named wood. Use straight, dry stock for a built-up top, keep the boards aligned, and check the assembled surface with a straightedge.
The right choice depends on your budget, tools, and whether you plan to replace or resurface the top later.
How thick should a woodworking workbench top be?
Choose a top thick enough to stay flat and hold the clamping hardware you plan to use. A thicker top adds weight and can make the bench harder to move, while a thin top may need support beneath it.
Match the top to the base and the work you expect to do.
How do I keep a woodworking workbench from wobbling?
Build the base square, add braces in both directions, and tighten every joint before fitting the top. Set the bench on a level floor and check each foot for gaps.
If it still rocks, adjust the feet or correct the floor contact before clamping or planing.
Can I build a woodworking workbench with folding legs?
Yes, folding legs can suit a portable or occasional-use bench, but the finished setup must stay stable under the work you do. Secure the top to the legs, lock the folding mechanism, and test the bench with light pressure before using hand tools or clamping a workpiece.